|
|
|
|
|
The P-Seals on my 88
coupe were beginning to look pretty ragged, so I figured that it was
time to replace them. New ones are getting more expensive and rare
every day, and they're not that easy to replace, so I decided to come
up with a substitute. What I came up with works, looks good, and costs
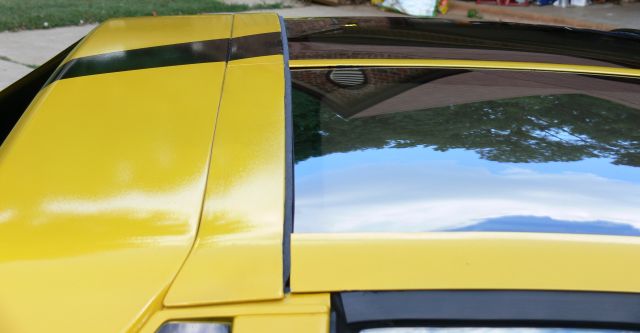
next to nothing. You'll wind up with P-Seals that look like this: First, remove your old
p-seals, following the instructions on the Fiero T-Top Registry
website, on this page,
and this page.
Remove all adhesive residue using "Goof-Off", which you can get at
Lowes or Home Depot. You will probably have to re-install pop rivets in
the holes where they held the old p-seals, to hold your front and rear
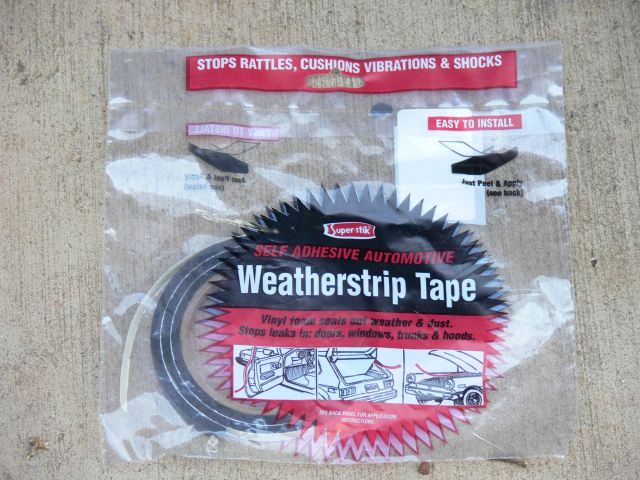
molding. To construct your new
p-seals, you'll need some self-adhesive weatherstrip tape, like this,
in size 3/16" by 3/8": Re-install your t-tops
(with no p-seals), and, scribe a line along the molding marking how
high the glass is. You'll want your new p-seals to be about the same
height as the glass. The only exception to this is the rear corner of
the driver side top. For some reason, most of them are a bit low in
this area, so you'll want the p-seal to be where the glass would be if
it weren't too low. Remove your t-tops, and
unroll a short length of the weatherstrip tape, and remove the backing.
You'll want to install your four pieces, rather than trying to install
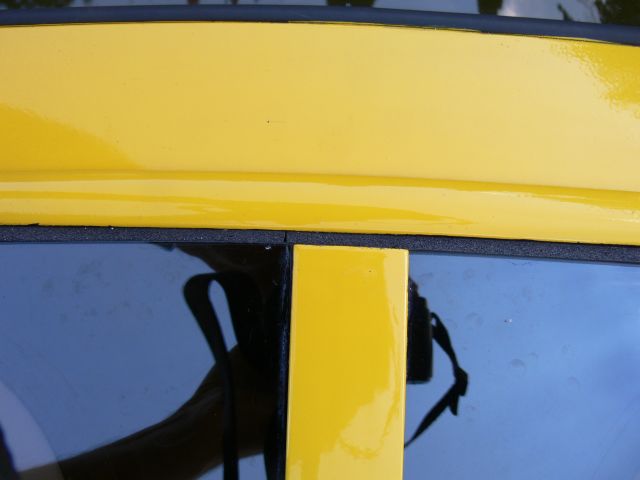
a single piece in front and in back. The best place to butt the pieces
is at one side of the center frame, like this: Next, do the rear
passenger side, putting the tape through the space between center frame
and molding, as you did at the front of the car. Then do the front and
rear on the driver side. This will be much easier, since you don't have
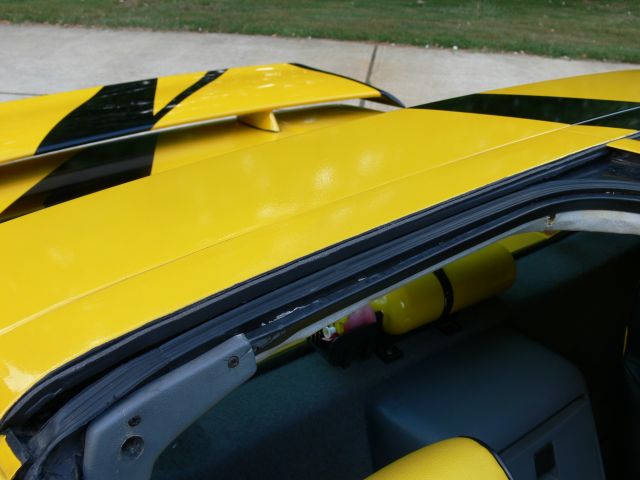
to deal with the space between the molding and center frame. When
you're done, your new p-seals should look something like this with the
t-tops off: These substitute p-seals
are quick, easy, and inexpensive, and best of all, they do what p-seals
are supposed to do. The wind noise at highway speed is much less in my
car than before I put them on. |